Ninja Creami Vanilla Protein Ice Cream is the easiest way to make thick, creamy, high-protein ice cream at home without artificial fillers.
This recipe gives you a smooth texture, balanced sweetness, and real vanilla flavor using simple ingredients. If you’re looking for healthy high-protein comfort food ideas, this frozen treat fits perfectly into your weekly plan.
Why You’ll Love This Recipe
It delivers real ice cream texture with over 20 grams of protein per serving.
You control the sugar level and ingredients completely.
It’s cheaper and cleaner than most store-bought protein ice creams.
Ingredients
Regular (full list):
- 1 ½ cups whole milk
- ½ cup heavy cream
- 1 scoop vanilla whey protein powder
- 2 tbsp maple syrup or honey
- 1 tsp pure vanilla extract
- Pinch of salt
Vegetarian (swap only):
No changes.
Vegan (swap only):
- Use unsweetened almond or oat milk instead of dairy milk.
- Replace heavy cream with full-fat coconut milk.
- Use plant-based vanilla protein powder.
- Use maple syrup instead of honey.
Directions
Regular (full steps):
- In a mixing bowl, whisk together milk, heavy cream, protein powder, maple syrup, vanilla extract, and salt until smooth.
- Blend for 20–30 seconds to fully dissolve the protein powder and avoid clumps.
- Pour mixture into a Ninja Creami pint container, leaving about ½ inch space at the top.
- Freeze on a flat surface for at least 24 hours.
- Remove from freezer, install the pint into the Ninja Creami machine.
- Select the “Ice Cream” function and process once.
- If texture looks powdery, press “Re-Spin” once or twice until creamy.
- Optional: Add chocolate chips or crushed nuts using the “Mix-In” function.
Vegetarian (swap only):
No changes.
Vegan (swap only):
- Process using the “Lite Ice Cream” function for smoother plant-based texture.
- Use Re-Spin if mixture appears crumbly.
Prep Time And Nutrition Facts
Prep time: 5 minutes. Freeze time: 24 hours. Processing time: 5 minutes. Per serving (½ pint): about 260 calories, 22g protein, 18g carbs, and 11g fat.
How To Serve Ninja Creami Vanilla Protein Ice Cream
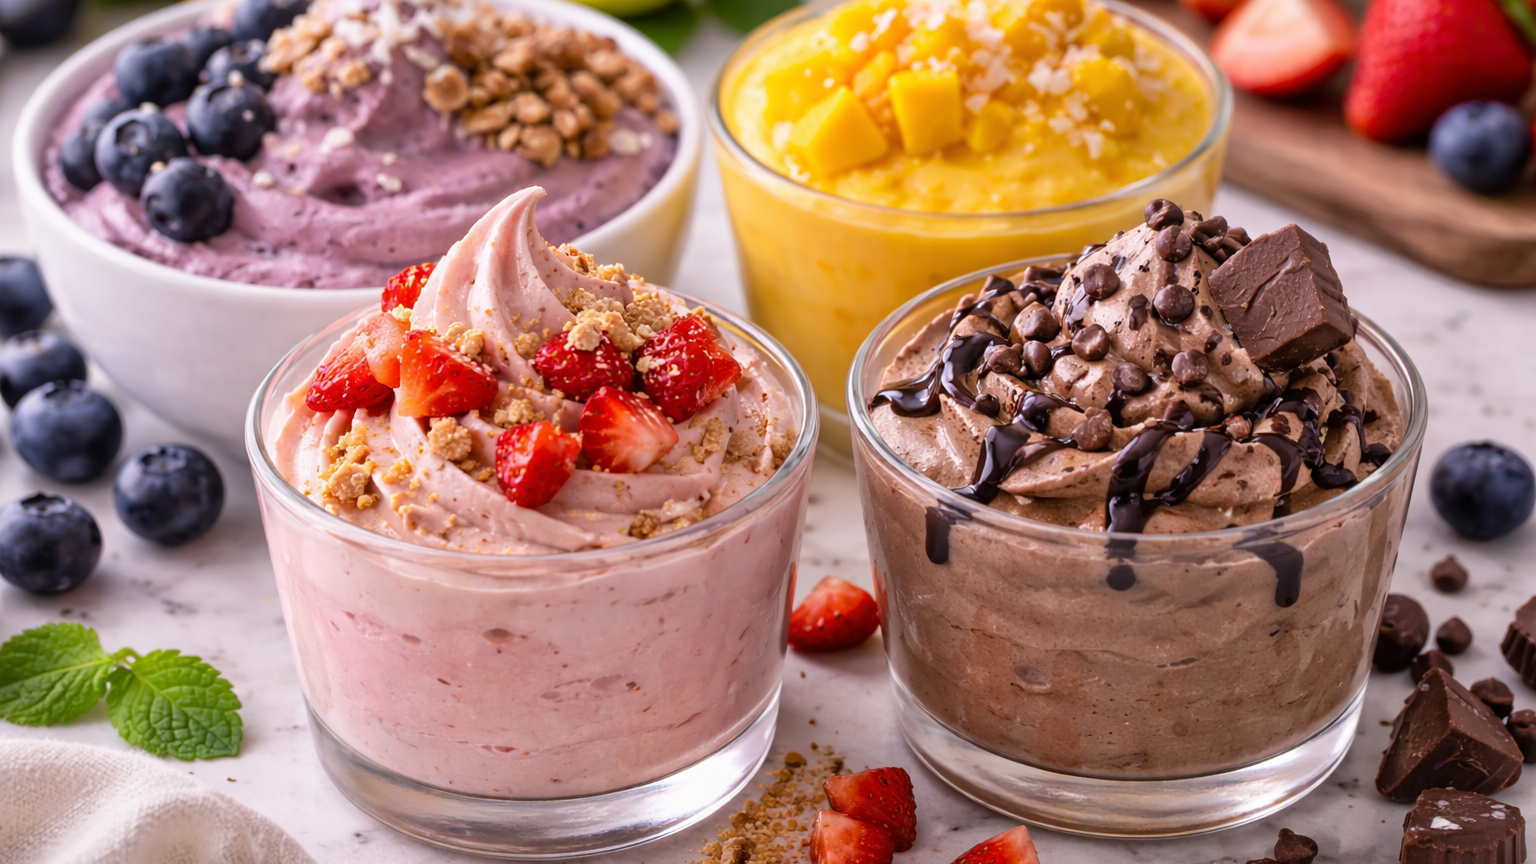
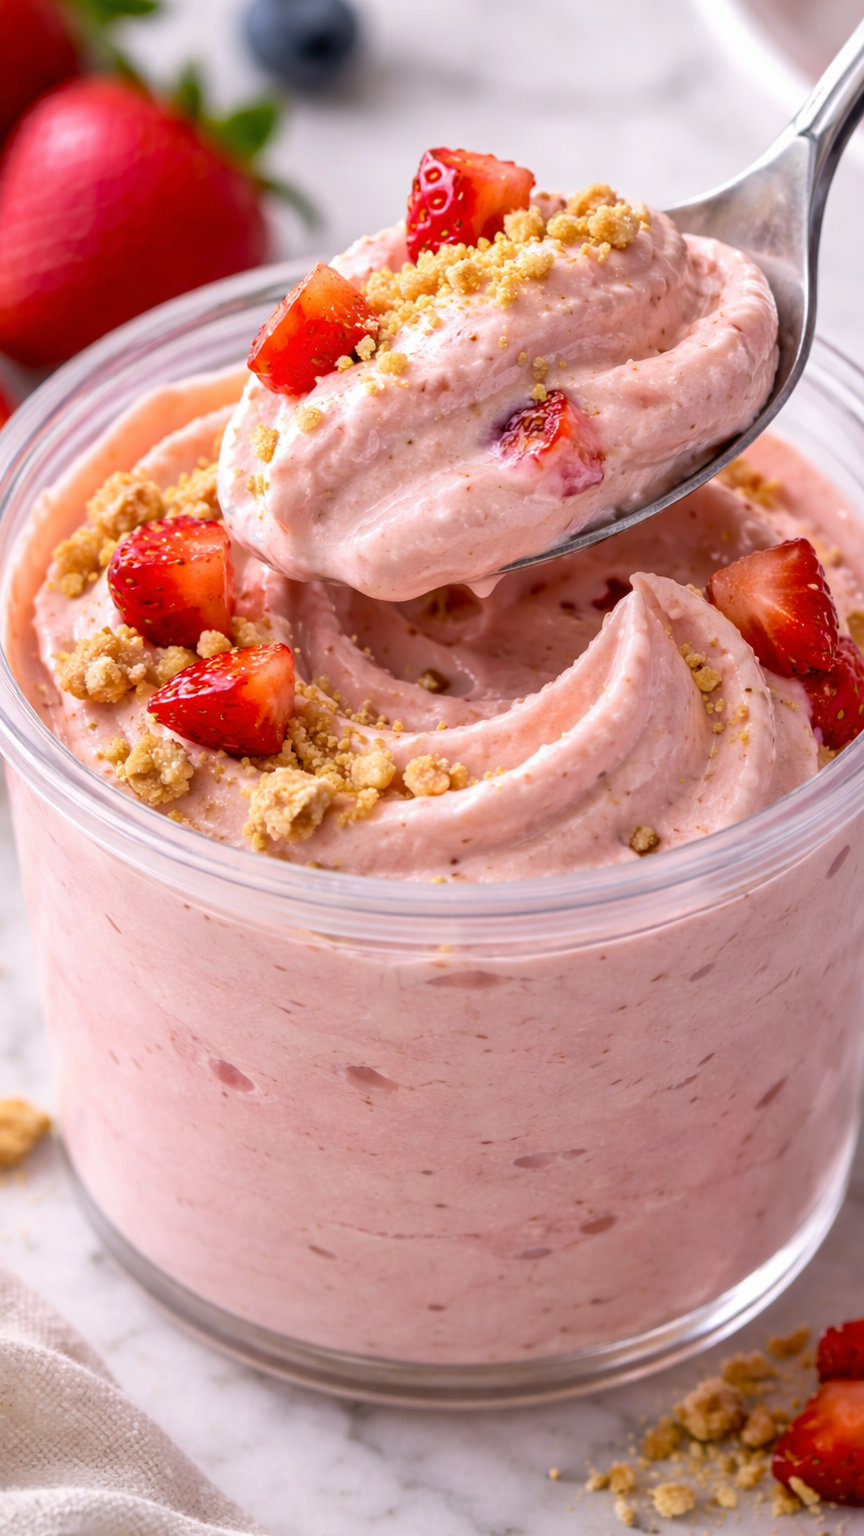
- Top with fresh berries and chia seeds.
- Serve with Sweet Potato and Chickpea Curry for a balanced plant-forward dinner and dessert combo.
- Add a spoon of peanut butter for extra protein.
- Blend with cold brew for a healthy protein milkshake.
- Serve in waffle cones for a classic feel.
- Pair with inspiration from other Ninja Creami ice cream variations to build your own flavors.
How To Store Ninja Creami Vanilla Protein Ice Cream
- Keep in original pint container with lid tightly sealed.
- Store up to 2 weeks in freezer.
- Re-spin after refreezing for best texture.
- Let sit 5 minutes before scooping.
Tips To Make Ninja Creami Vanilla Protein Ice Cream
- Always freeze on a level surface.
- Use full-fat dairy for creamier texture.
- Blend mixture well before freezing.
- Do not overfill the pint container.
- Use Re-Spin for powdery texture.
- Add mix-ins only after first processing cycle.
- Vegan success tip: Add 1 tsp coconut oil for smoother texture.
- Vegan success tip: Use pea protein for better freezing stability.
Health And Benefits Of This Recipe
High protein supports muscle recovery.
Lower sugar than commercial ice cream.
You control ingredient quality.
Can be adapted to dairy-free diets.
Helps satisfy sweet cravings without overeating.
Variations (If Any)
- Add cocoa powder for chocolate protein ice cream.
- Blend strawberries for a berry version.
- Add espresso powder for coffee flavor.
- Swirl peanut butter after processing.
- Add cinnamon for warm vanilla spice.
FAQs
1. Why is my Ninja Creami protein ice cream crumbly?
It needs the Re-Spin function or slightly more fat in the base.
2. Can I use casein protein instead of whey?
Yes. Casein creates a thicker, creamier texture.
3. How long must I freeze before processing?
Minimum 24 hours for proper solid freezing.
4. Can I make this recipe sugar-free?
Yes. Use monk fruit or erythritol instead of maple syrup.
5. What milk works best for protein ice cream?
Whole milk or oat milk for the creamiest result.
6. Is this good for weight loss?
It can fit into a calorie-controlled diet due to high protein and portion control.
7. Can I double the recipe?
You must freeze in separate pint containers. Do not overfill one.
8. Does plant protein affect texture?
Yes. Some plant proteins require an extra Re-Spin for smoothness.
Ninja Creami Vanilla Protein Ice Cream
Ingredients
Method
- In a mixing bowl, whisk together milk, heavy cream, protein powder, maple syrup, vanilla extract, and salt until smooth.
- Blend for 20–30 seconds to fully dissolve the protein powder and avoid clumps.
- Pour mixture into a Ninja Creami pint container, leaving about ½ inch space at the top.
- Freeze on a flat surface for at least 24 hours.
- Remove from freezer, install the pint into the Ninja Creami machine.
- Select the 'Ice Cream' function and process once.
- If texture looks powdery, press 'Re-Spin' once or twice until creamy.
- Optional: Add chocolate chips or crushed nuts using the 'Mix-In' function.
- Process using the 'Lite Ice Cream' function for smoother plant-based texture.
- Use Re-Spin if mixture appears crumbly.