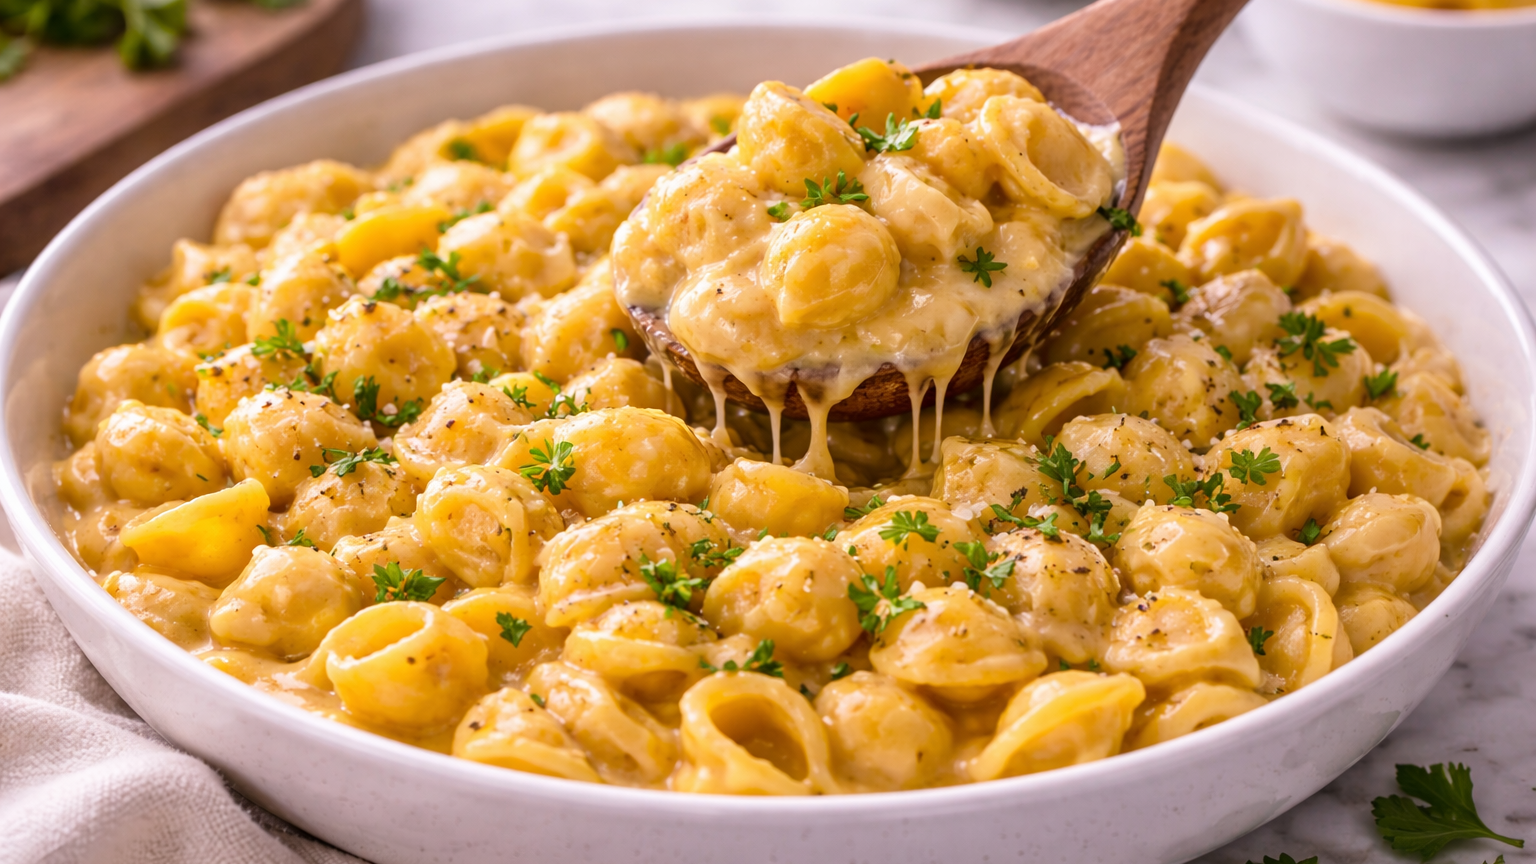
Tini Mac and Cheese Recipe
Tini Mac and Cheese Recipe is the ultimate mini baked mac and cheese that delivers a creamy center with crispy golden edges. These bite-sized mac and cheese cups are perfect for parties, quick dinners, or meal prep. If you love comfort food in controlled portions, this easy baked mac and cheese muffin recipe is exactly what you need.
Why You’ll Love This Recipe
It gives you the classic creamy mac and cheese flavor with perfectly crispy edges in every bite.
The mini portions make it ideal for appetizers, lunchboxes, or portion-controlled dinners.
It’s faster than traditional baked mac and cheese and easy to customize for any diet.
Ingredients
Regular (full list):
- 2 cups elbow macaroni (8 oz)
- 2 tbsp unsalted butter
- 2 tbsp all-purpose flour
- 1 cup whole milk
- ½ cup heavy cream
- 2 cups sharp cheddar cheese, freshly grated
- ½ cup mozzarella or Gruyère cheese, grated
- ½ tsp mustard powder
- ¼ tsp garlic powder
- Salt and black pepper to taste
- ½ cup panko breadcrumbs
- 2 tbsp melted butter (for topping)
- 2 tbsp grated Parmesan cheese
Vegetarian (swap only):
No changes.
Vegan (swap only):
- Replace butter with vegan butter.
- Use unsweetened oat milk instead of milk and cream.
- Use high-quality meltable vegan cheddar-style shreds.
- Replace Parmesan with nutritional yeast.
Directions
Regular (full steps):
- Preheat oven to 375°F (190°C). Generously grease a 12-cup muffin tin.
- Boil macaroni in salted water until 2 minutes under al dente. Drain without rinsing.
- Melt butter in a saucepan over medium heat. Whisk in flour and cook 1–2 minutes until lightly golden.
- Slowly whisk in milk and cream. Cook until thick and smooth.
- Remove from heat. Stir in cheddar, mozzarella, mustard powder, garlic powder, salt, and pepper until creamy.
- Fold pasta into cheese sauce until evenly coated.
- Divide mixture into muffin cups without pressing tightly.
- Mix breadcrumbs, melted butter, and Parmesan. Sprinkle over each cup.
- Bake 15–18 minutes until tops are golden and edges slightly crisp.
- Rest 5 minutes before gently removing.
Vegetarian (swap only):
No changes.
Vegan (swap only):
- Use plant-based milk mixture for sauce.
- Bake 1–2 extra minutes if needed for vegan cheese melt.
Prep Time And Nutrition Facts
Prep time: 15 minutes. Cook time: 20 minutes. Total time: 35 minutes. Per serving (2 mini mac and cheese cups): about 320 calories, 14g protein, 26g carbohydrates, and 18g fat.
How To Serve Tini Mac and Cheese Recipe
- Serve with Garlic Broccoli Stir Fry with Chickpeas for a balanced comfort meal.
- Pair with a crisp green salad and lemon dressing.
- Offer as party appetizers alongside sliders or wraps.
- Top with chopped parsley or chili flakes for color and flavor.
- Serve next to Sweet Potato and Chickpea Curry for a hearty vegetarian spread.
- Get inspiration from other mini mac and cheese appetizer ideas for creative party serving.
How To Store Tini Mac and Cheese Recipe
- Refrigerate in airtight container up to 4 days.
- Freeze up to 2 months once fully cooled.
- Reheat in oven at 350°F for best texture.
- Add a splash of milk before reheating to keep creamy.
Tips To Make Tini Mac and Cheese Recipe
- Undercook pasta slightly to avoid mushy texture.
- Use freshly grated cheese for smooth melting.
- Remove sauce from heat before adding cheese.
- Do not overbake or cups will dry out.
- Grease muffin tin heavily or use silicone liners.
- Let cups rest before removing from pan.
- Vegan success tip: Blend soaked cashews into plant milk for thicker dairy-free sauce.
- Vegan success tip: Add extra nutritional yeast for deeper cheesy flavor.
Health And Benefits Of This Recipe
Cheese provides calcium for bone support.
Portion control helps manage calorie intake.
Protein improves satiety and muscle repair.
You can adapt it to gluten-free or vegan diets.
Pairing with vegetables increases fiber and micronutrients.
Variations (If Any)
- Add cooked broccoli for extra fiber.
- Mix in caramelized onions for sweetness.
- Use smoked gouda for bold flavor.
- Add jalapeños for spicy baked mac and cheese cups.
- Top with crushed crackers instead of breadcrumbs.
FAQs
1. Can I make Tini Mac and Cheese Recipe ahead of time?
Yes. Assemble and refrigerate up to 24 hours before baking.
2. Why is my cheese sauce grainy?
It was likely overheated. Always remove from heat before adding cheese.
3. Can I use gluten-free pasta?
Yes. Just slightly undercook before baking.
4. Are these good for meal prep?
Yes. They reheat well and keep their shape.
5. How do I keep mac and cheese cups from sticking?
Grease the pan well or use silicone liners.
6. Can I make dairy-free mini mac and cheese?
Yes. Use plant-based butter, milk, and meltable vegan cheese.
7. What cheese melts best for baked mac and cheese?
Cheddar, mozzarella, Gruyère, and fontina melt smoothly.
8. Can I add protein to this recipe?
Yes. Add cooked chicken or plant-based crumbles before baking.
Tini Mac and Cheese
Ingredients
Method
- Preheat oven to 375°F (190°C). Generously grease a 12-cup muffin tin.
- Boil macaroni in salted water until 2 minutes under al dente. Drain without rinsing.
- Melt butter in a saucepan over medium heat. Whisk in flour and cook 1–2 minutes until lightly golden.
- Slowly whisk in milk and cream. Cook until thick and smooth.
- Remove from heat. Stir in cheddar, mozzarella, mustard powder, garlic powder, salt, and pepper until creamy.
- Fold pasta into cheese sauce until evenly coated.
- Divide mixture into muffin cups without pressing tightly.
- Mix breadcrumbs, melted butter, and Parmesan. Sprinkle over each cup.
- Bake 15–18 minutes until tops are golden and edges slightly crisp.
- Rest 5 minutes before gently removing.